How to Photograph the Northern Lights

Disclosure: Please note that some of the links in this post are affiliate links, and at no cost to you, I may earn a small commission if you decide to make a purchase after clicking through the link. I will only ever recommend products that I would purchase for myself. Please do not spend any money on these products unless you feel you need them or that they will help you achieve your goals.
My Northern Lights Adventure
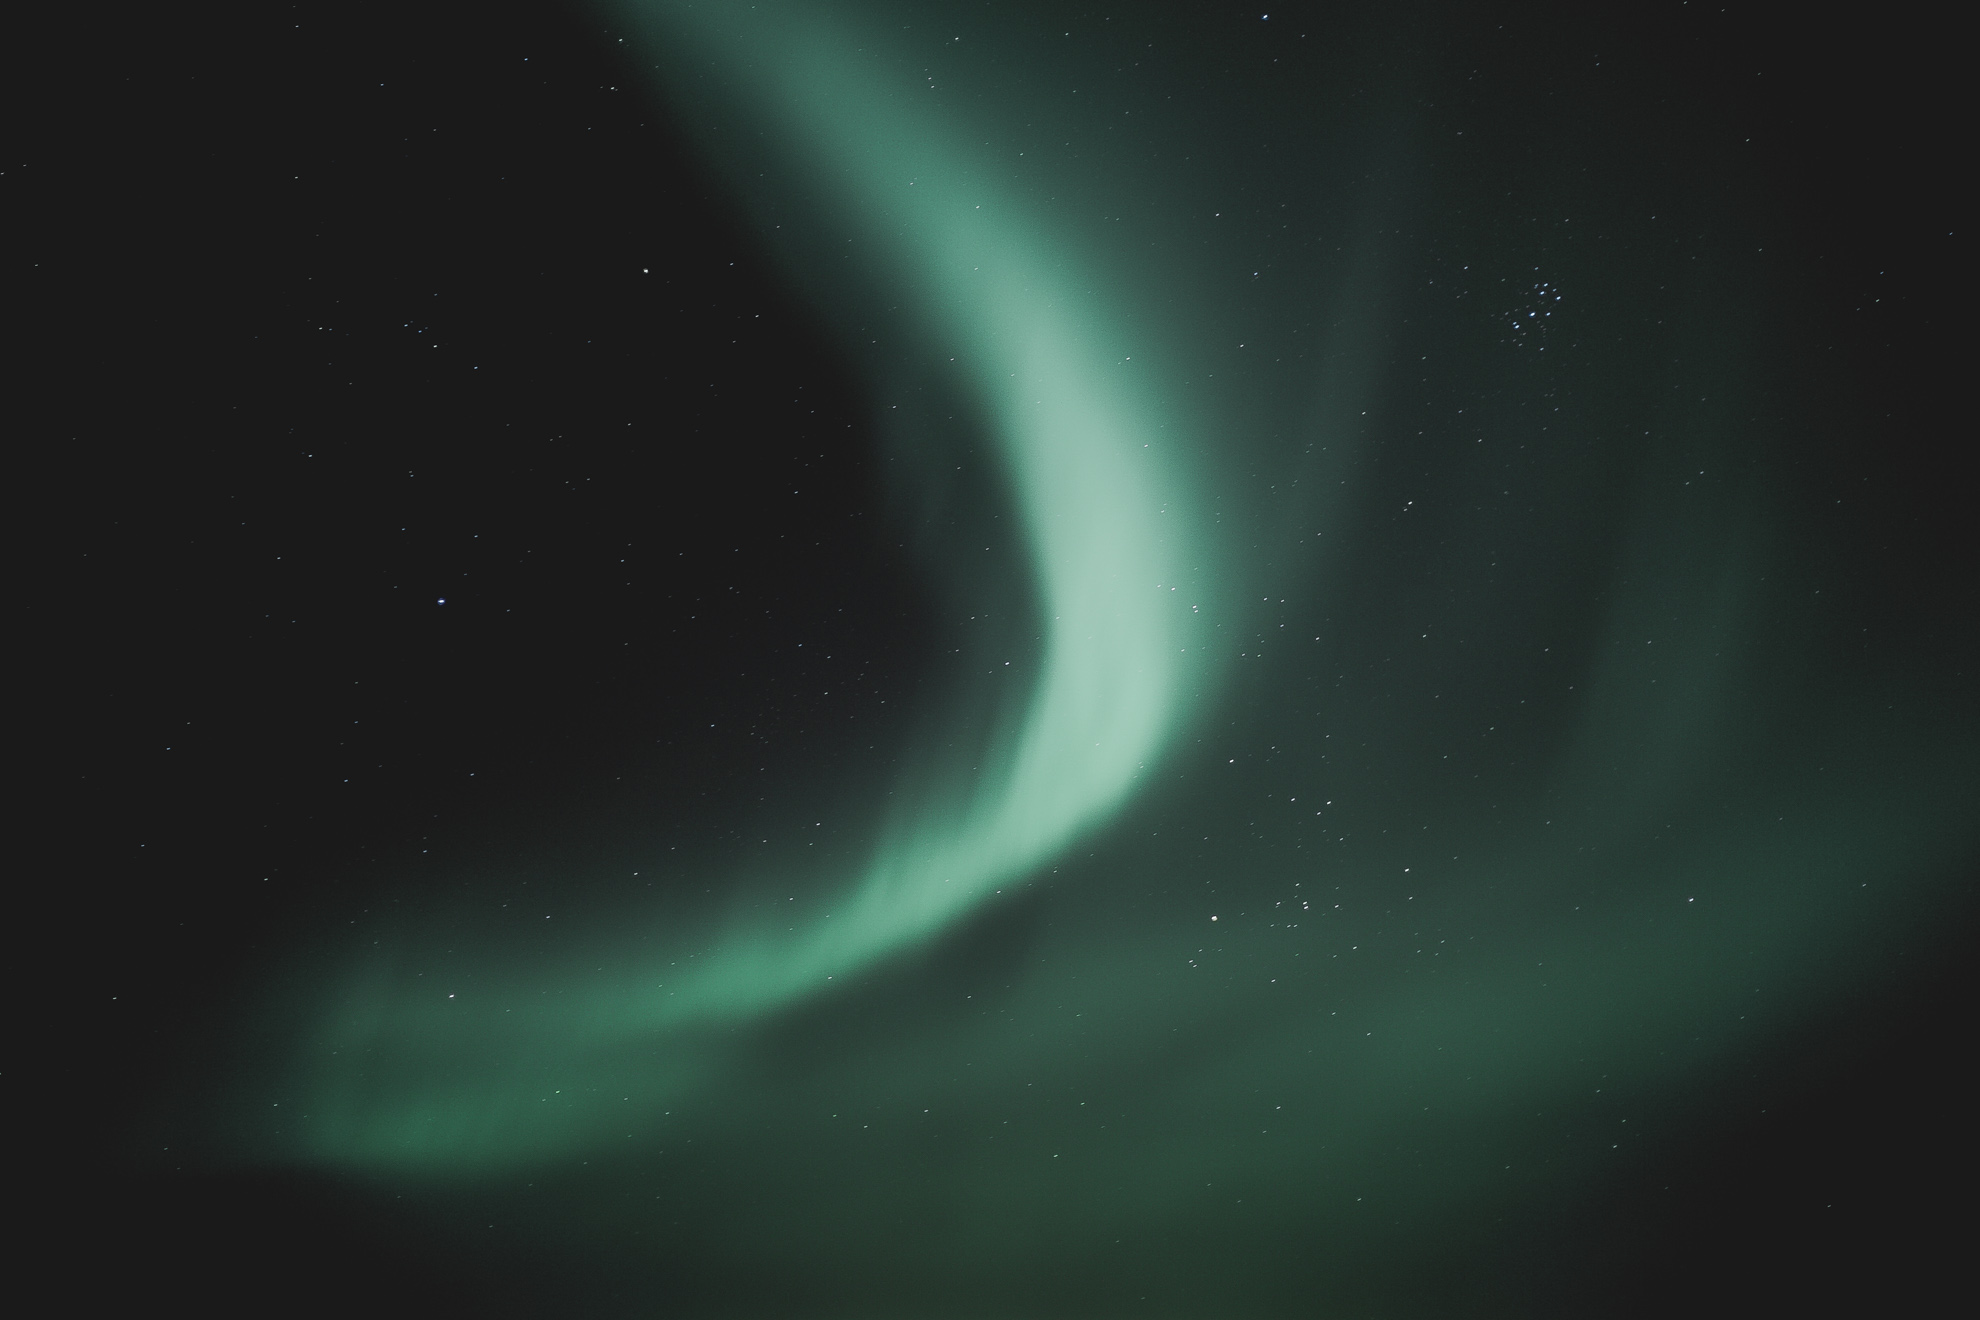
It was our final night in Reykjavik. My mom and I had just spent the last week driving around the Ring Road and our flight back the US was leaving in the morning. We had heard from some of the locals that the elusive northern lights might possibly make an appearance. So at around 10:30 pm, we left our hotel with our fingers crossed. Sure enough, as soon as we stepped outside, the sky began to brighten! Within seconds, the northern lights were in full swing – dancing across the sky from one horizon to the other. It was the most remarkable thing I had ever seen. We ran down to the harbor nearby and I quickly set up my camera to take some shots. I truly hope everybody gets the chance to see the northern lights at some point! When you do, here are some tips on how to successfully photograph them.
How to Photograph the Northern Lights
1. Determine your exposure
The most important part in photographing the northern lights is making sure your photo is properly exposed. The very first thing you need to do is switch your camera over to manual mode. This will give you full control over aperture, shutter speed, and ISO.
Aperture (f-stop): Since it was really dark out when I was photographing the northern lights, I opened my aperture as wide as possible (f/1.8). Having a wide-open aperture allows light to enter your camera so that your photo isn’t dark. Want to learn more about aperture? Read my beginner’s guide!
Shutter Speed: Simply adjusting your aperture isn’t enough. You’ll also need to set a long shutter speed for the exact same reason – to allow more light into your camera. I found that 12-15 seconds was a good amount of time. Here’s my beginner’s guide for shutter speed!
ISO: If your photo is still too dark after setting your aperture and shutter speed, go ahead and bump your ISO up. This will add more light to your photo. Keep in mind that high ISOs will decrease the image quality. Check out my beginner’s guide to ISO!
2. Use a tripod
This is an absolute must for getting a clear, crisp image! I would recommend investing in a sturdy tripod to really stabilize your camera. Look at the specs and find out how much weight the tripod can handle. If your camera is heavy (especially with a lens attached), some tripods won’t be able to handle it and it might be prone to tipping over. Here are a few tripods from Amazon that I recommend:
3. Focus
Shift your lens to manual focus. Then, switch over to live view so you can see the sky on your LCD screen. Choose a bright star or a light
Additional Tips (but not necessary)
1. Use a shutter release timer: This is simply another way to activate the shutter button. You can either buy one with a cord that connects to your camera or a wireless one. The reason for this is that when you press the shutter button on your camera, you slightly shake the camera and that tiny movement might make the final image a little blurry. Using a remote shutter release will solve this. This is the wireless remote that I currently use.
2. Invest in a wide angle lens: These can get a little expensive but lenses are always a good investment. Wide angle lenses will allow you to capture even more of the sky!
See you next Monday!
♥ Kristen

These are good tips. I wish i could see the northern lights but i live in the south.
https://sugarcoatedbears.blogspot.com/