Beginner’s Guide to ISO
What in the world is ISO?
ISO refers to the camera’s sensitivity to light. In layman’s terms, it helps you take photos in low light situations. Every DSLR has a “base ISO”, meaning the lowest ISO number you can choose. On most cameras, this is going to be ISO 100.
ISO is typically the last setting I adjust. I’ll usually play around with my aperture and shutter speed first to try and get the proper exposure and then adjust the ISO if needed.
How ISO Affects Light
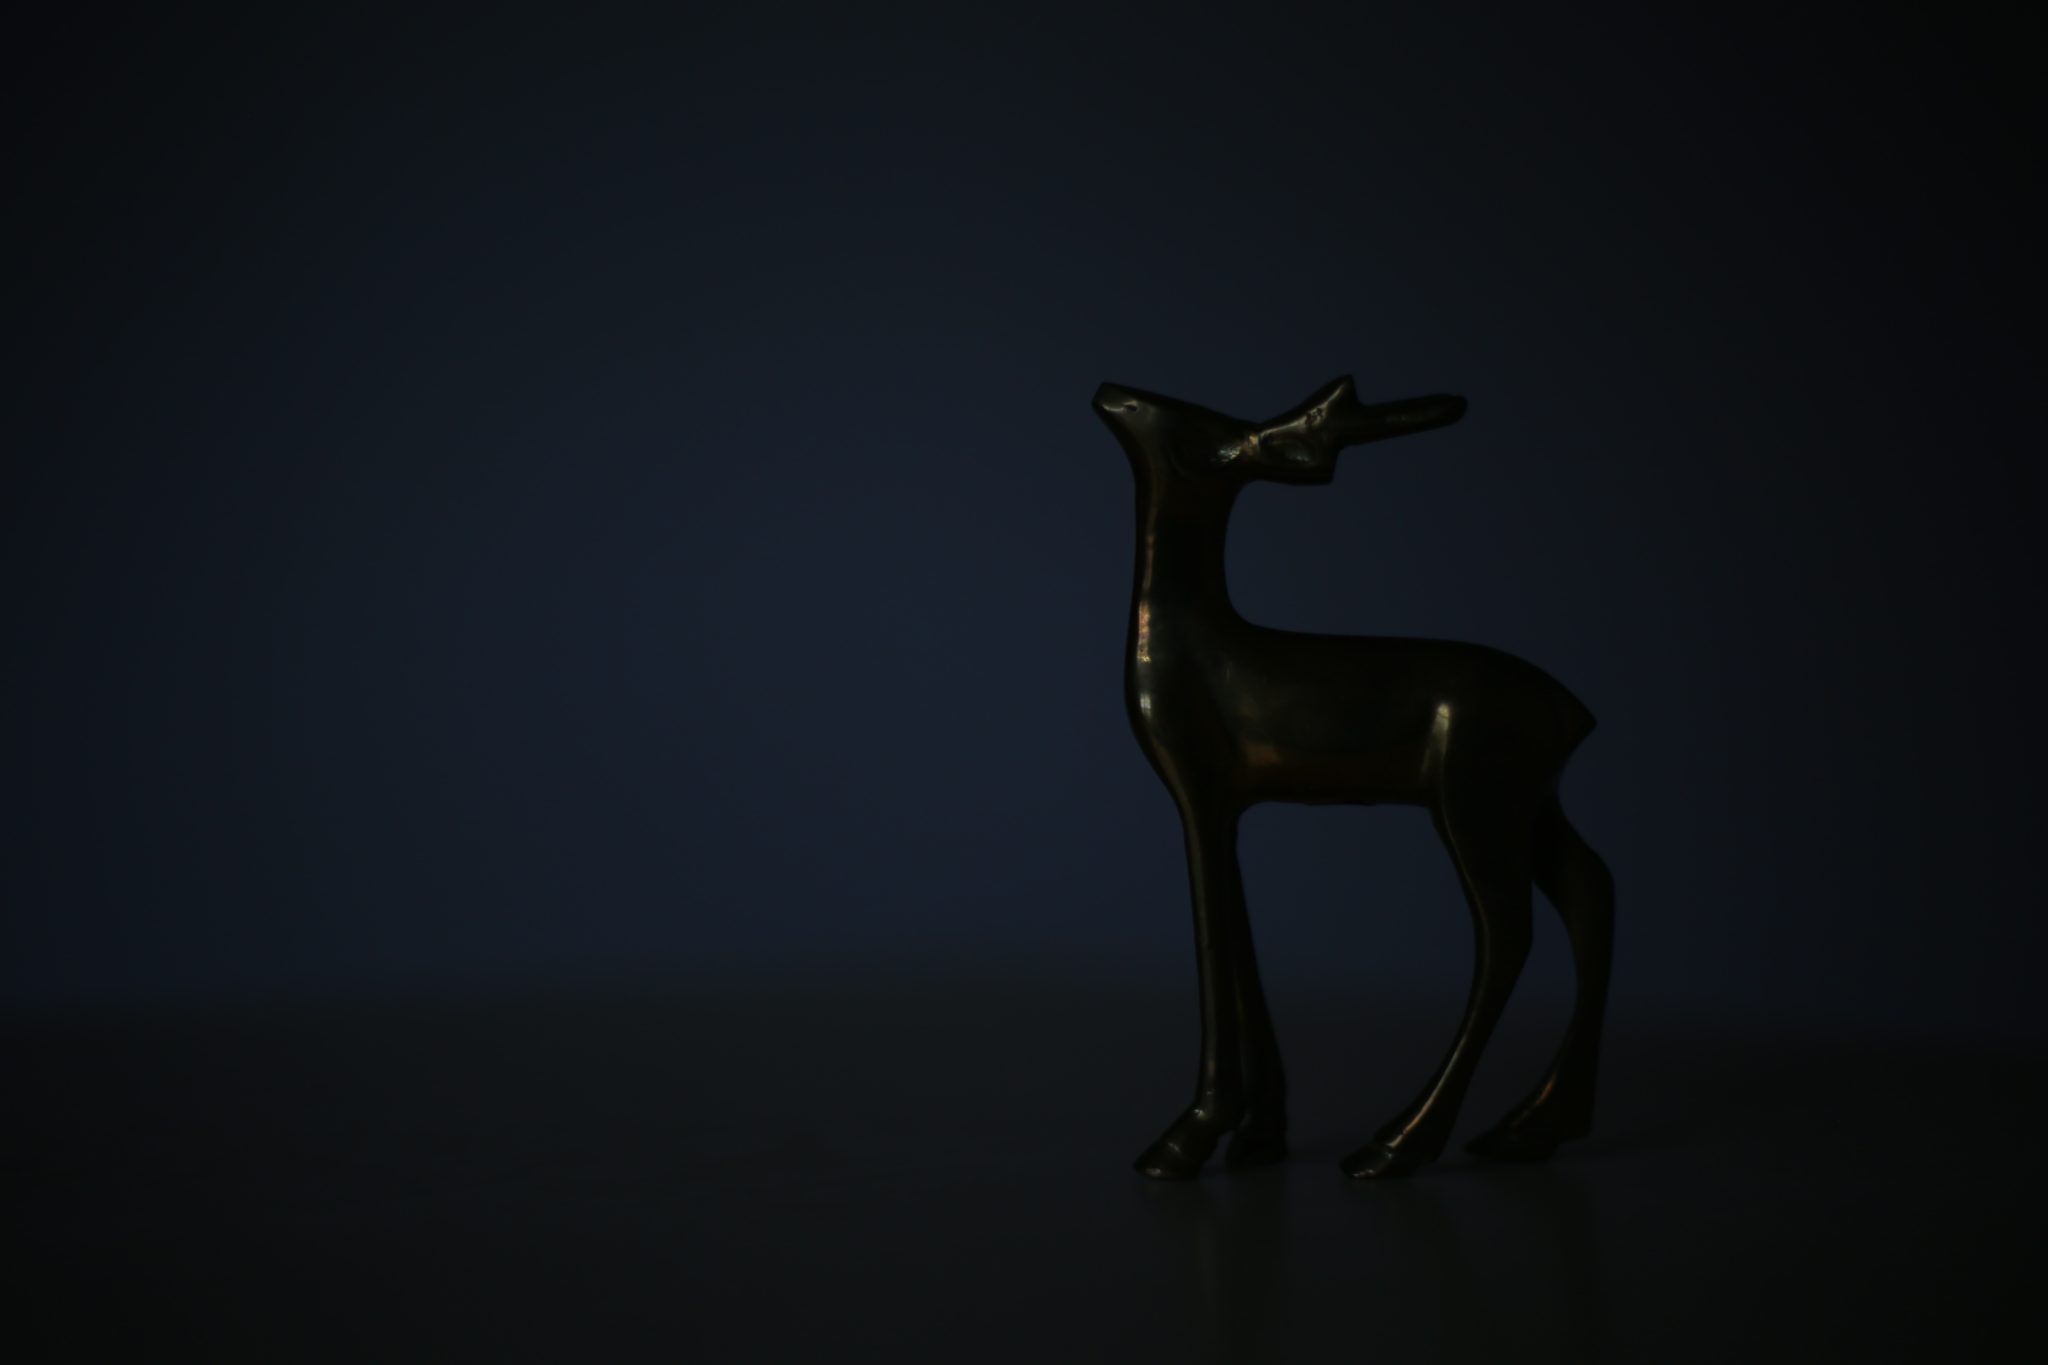
ISO 100 | f 1.8 | 1/125
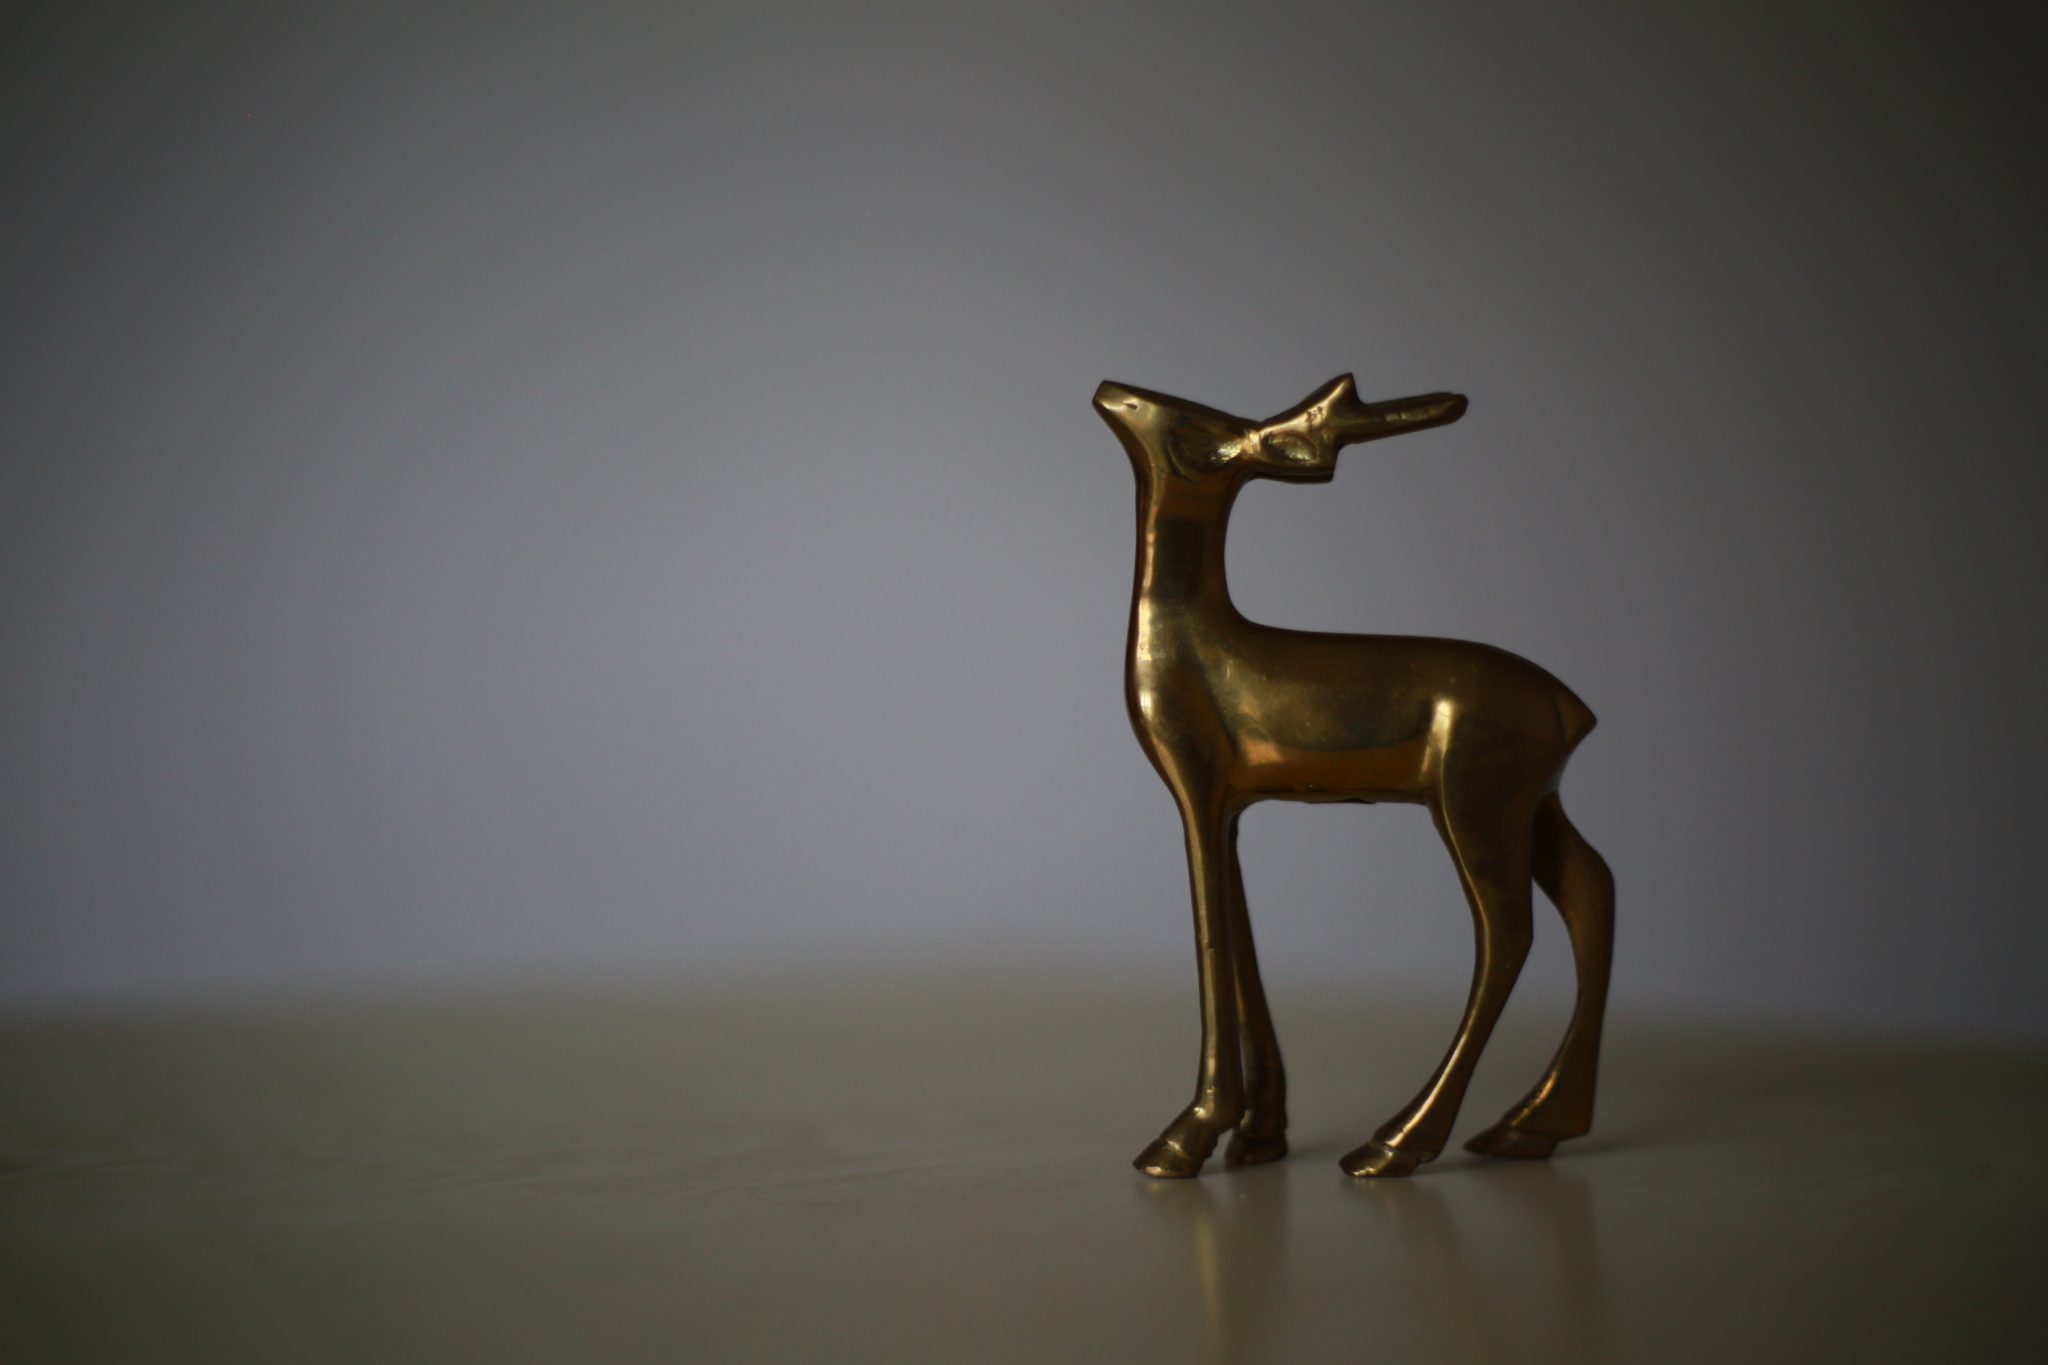
ISO 400 | f 1.8 | 1/125
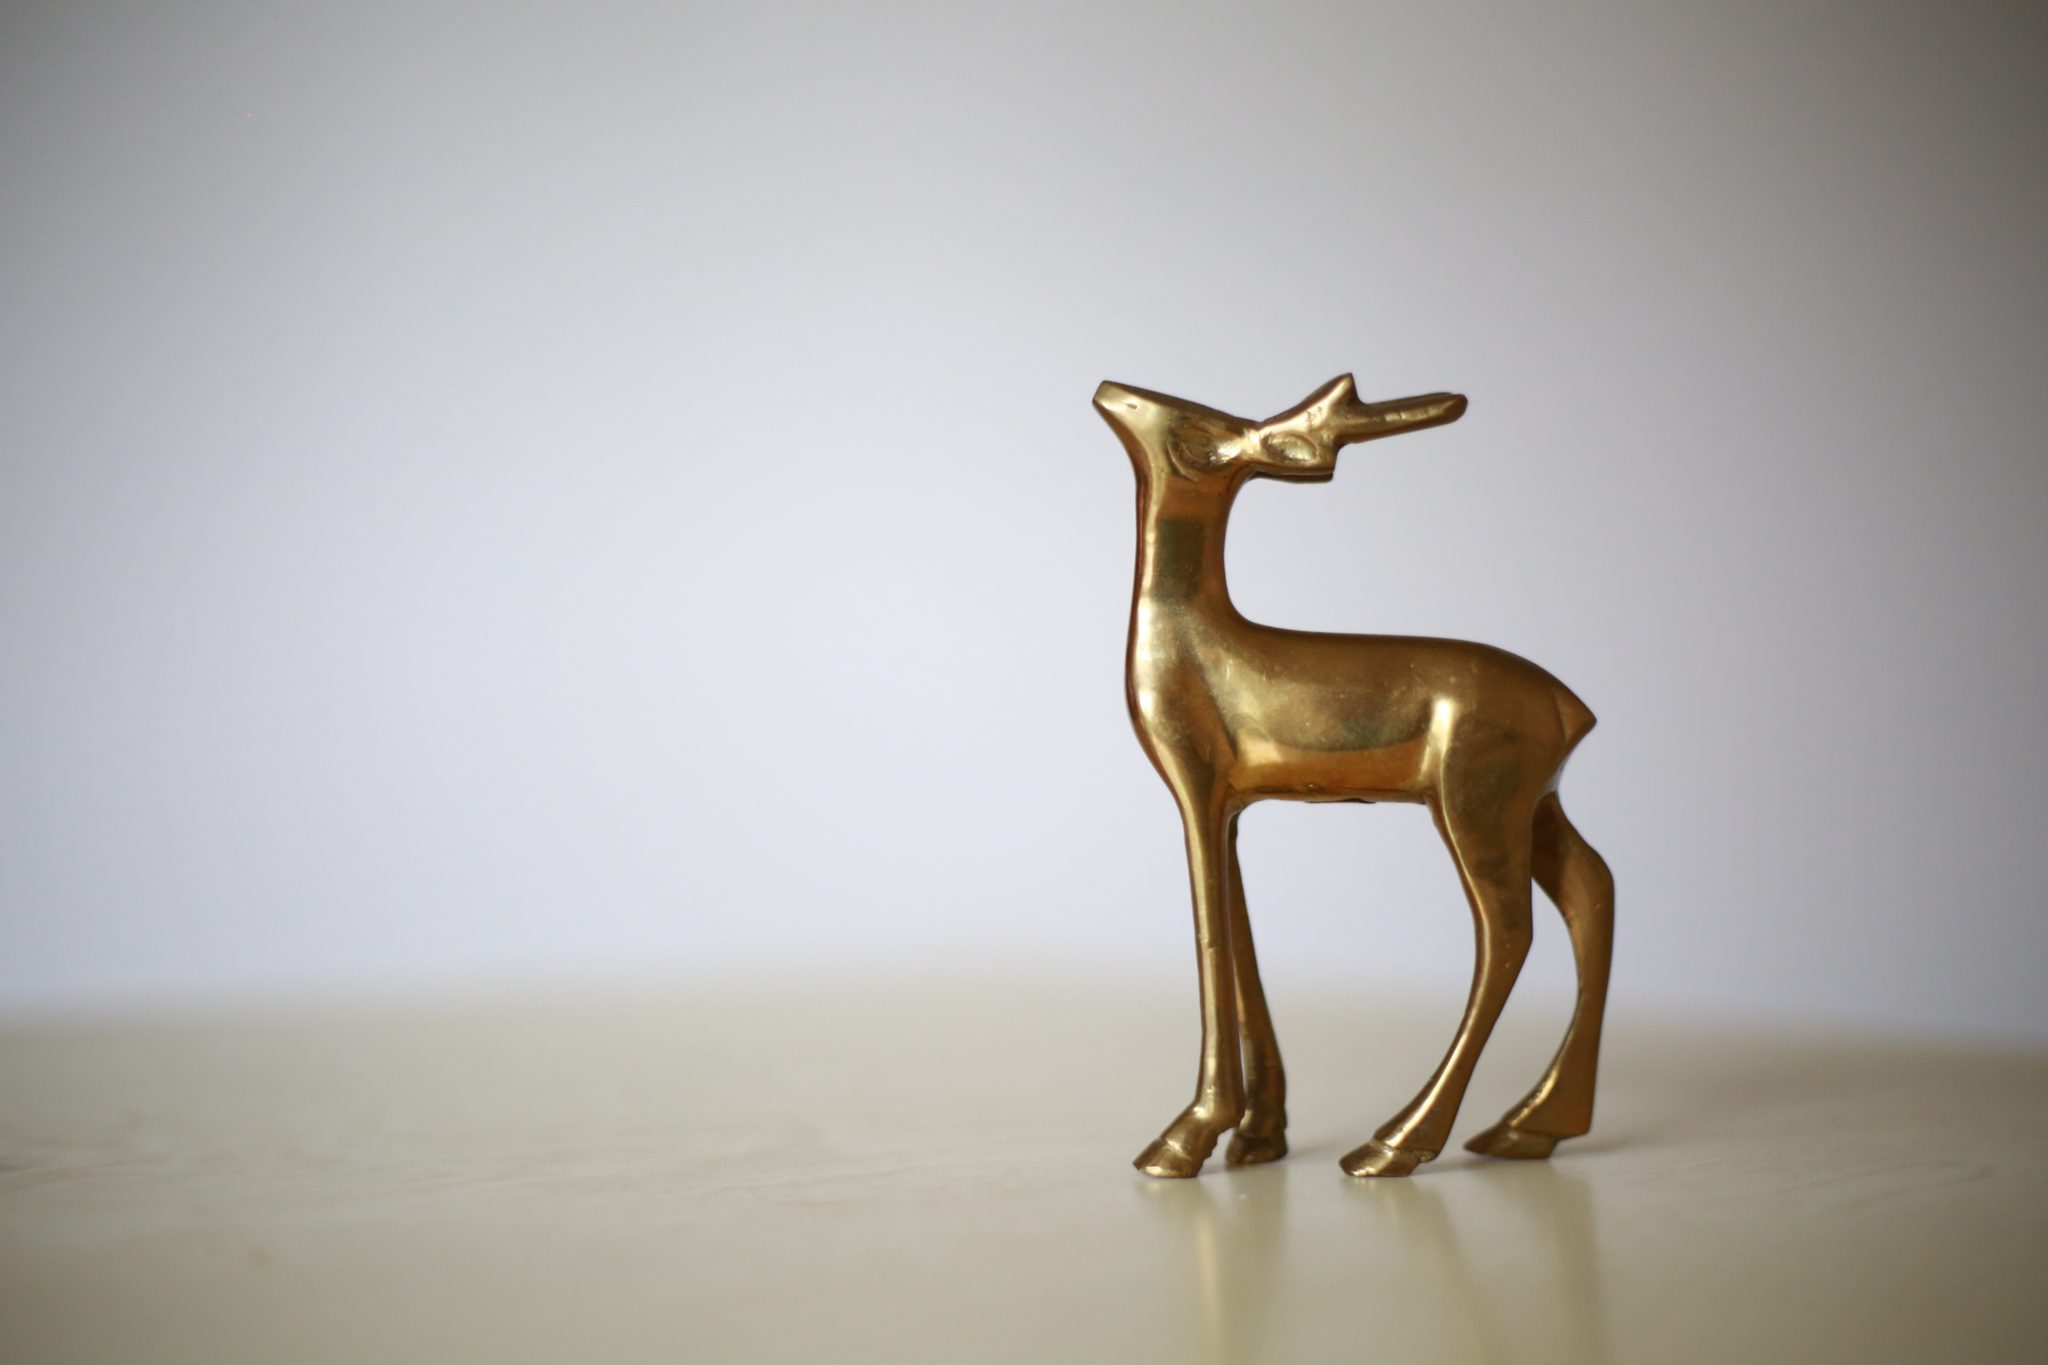
ISO 800 | f 1.8 | 1/125
Low ISOs
If you have plenty of available light, you can keep your ISO low. For example, my mom took this photo of me on a beach in Florida. It was really sunny out so I just left my ISO at 100.
High ISOs
If you don’t have enough light, you can raise your ISO in order to brighten your photo. In the image below, the sun had almost set so it was getting dark out. I needed to raise my ISO to add more light to the photo.

ISO 100 | f 2 | 1/1000
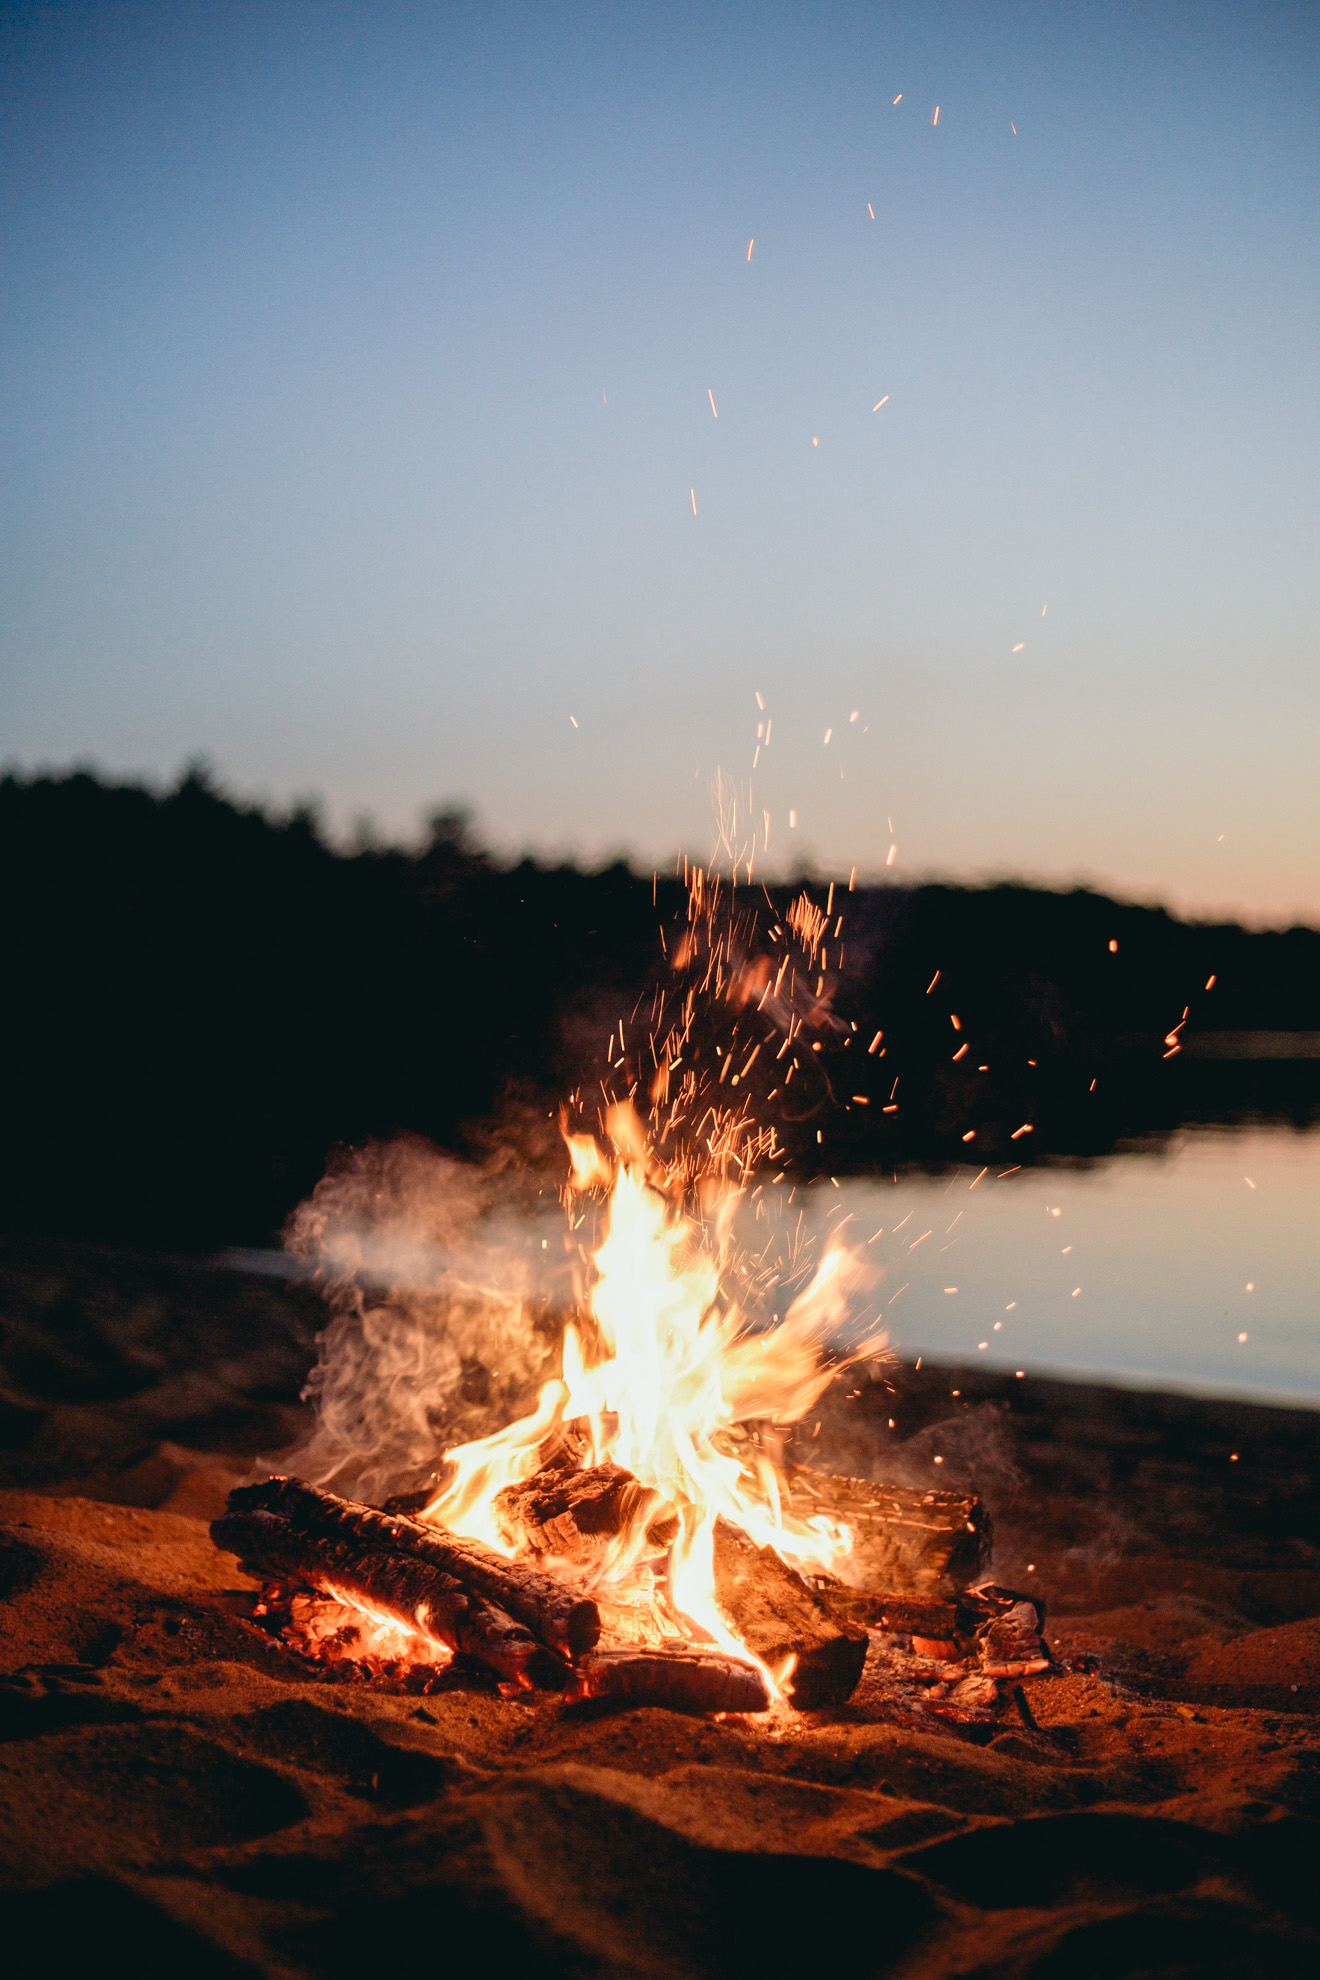
ISO 640 | f 1.8 | 1/125
How ISO Affects Image Quality
This first image was shot at ISO 640. The dark blue sky looks fairly smooth and rich. If you look really closely, you can see a little bit of grain showing up in the sky, but not much. The quality of the image is still good.
The second image of the milky way was shot at ISO 2000. With such a high ISO, there’s now a decent amount of grain showing through in this photo and it looks blotchy. The image quality isn’t that great.
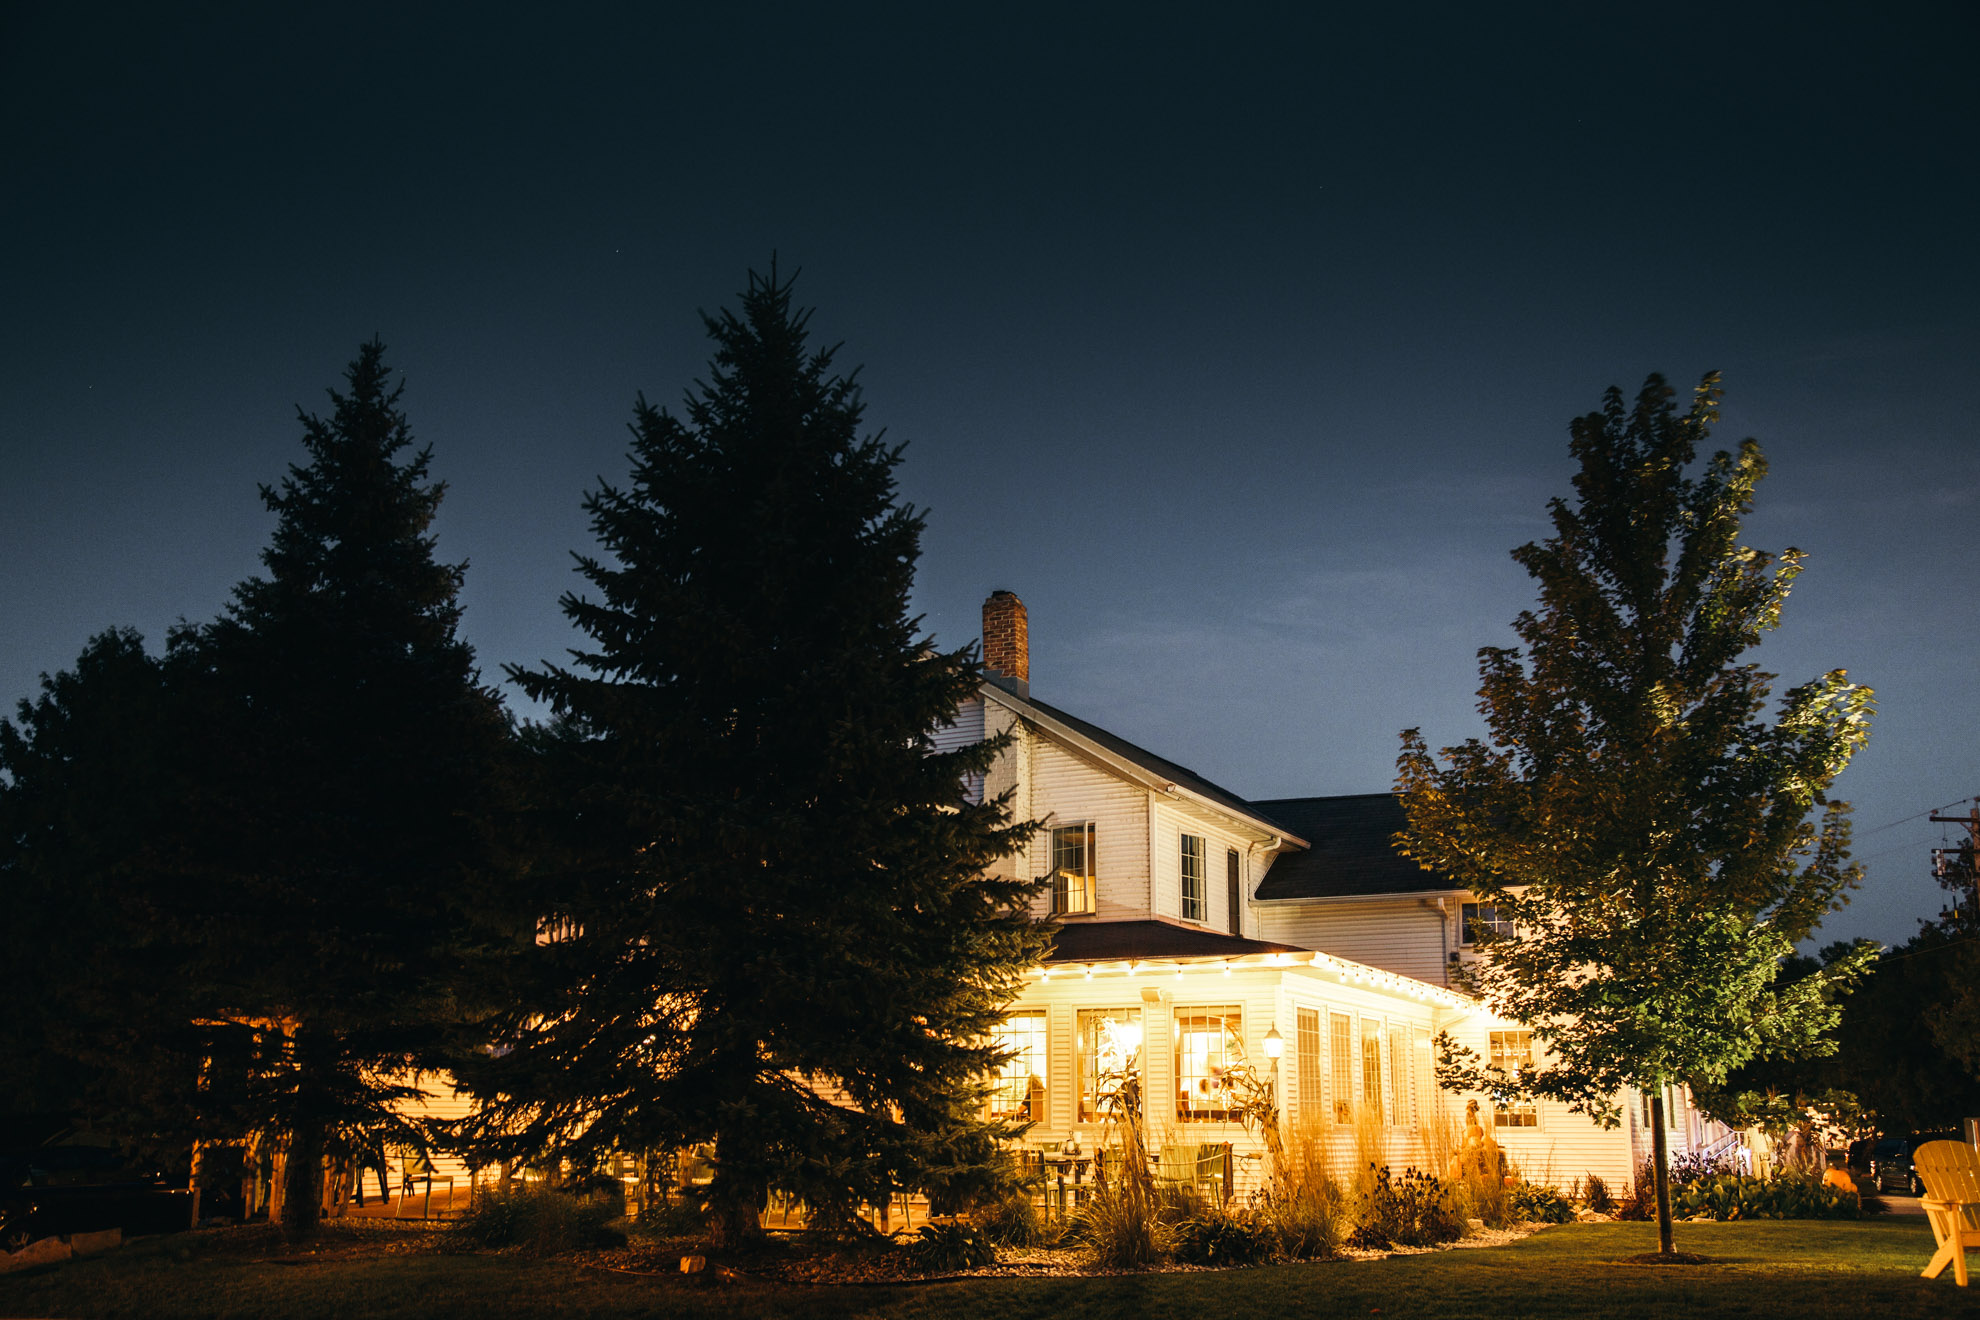
ISO 640
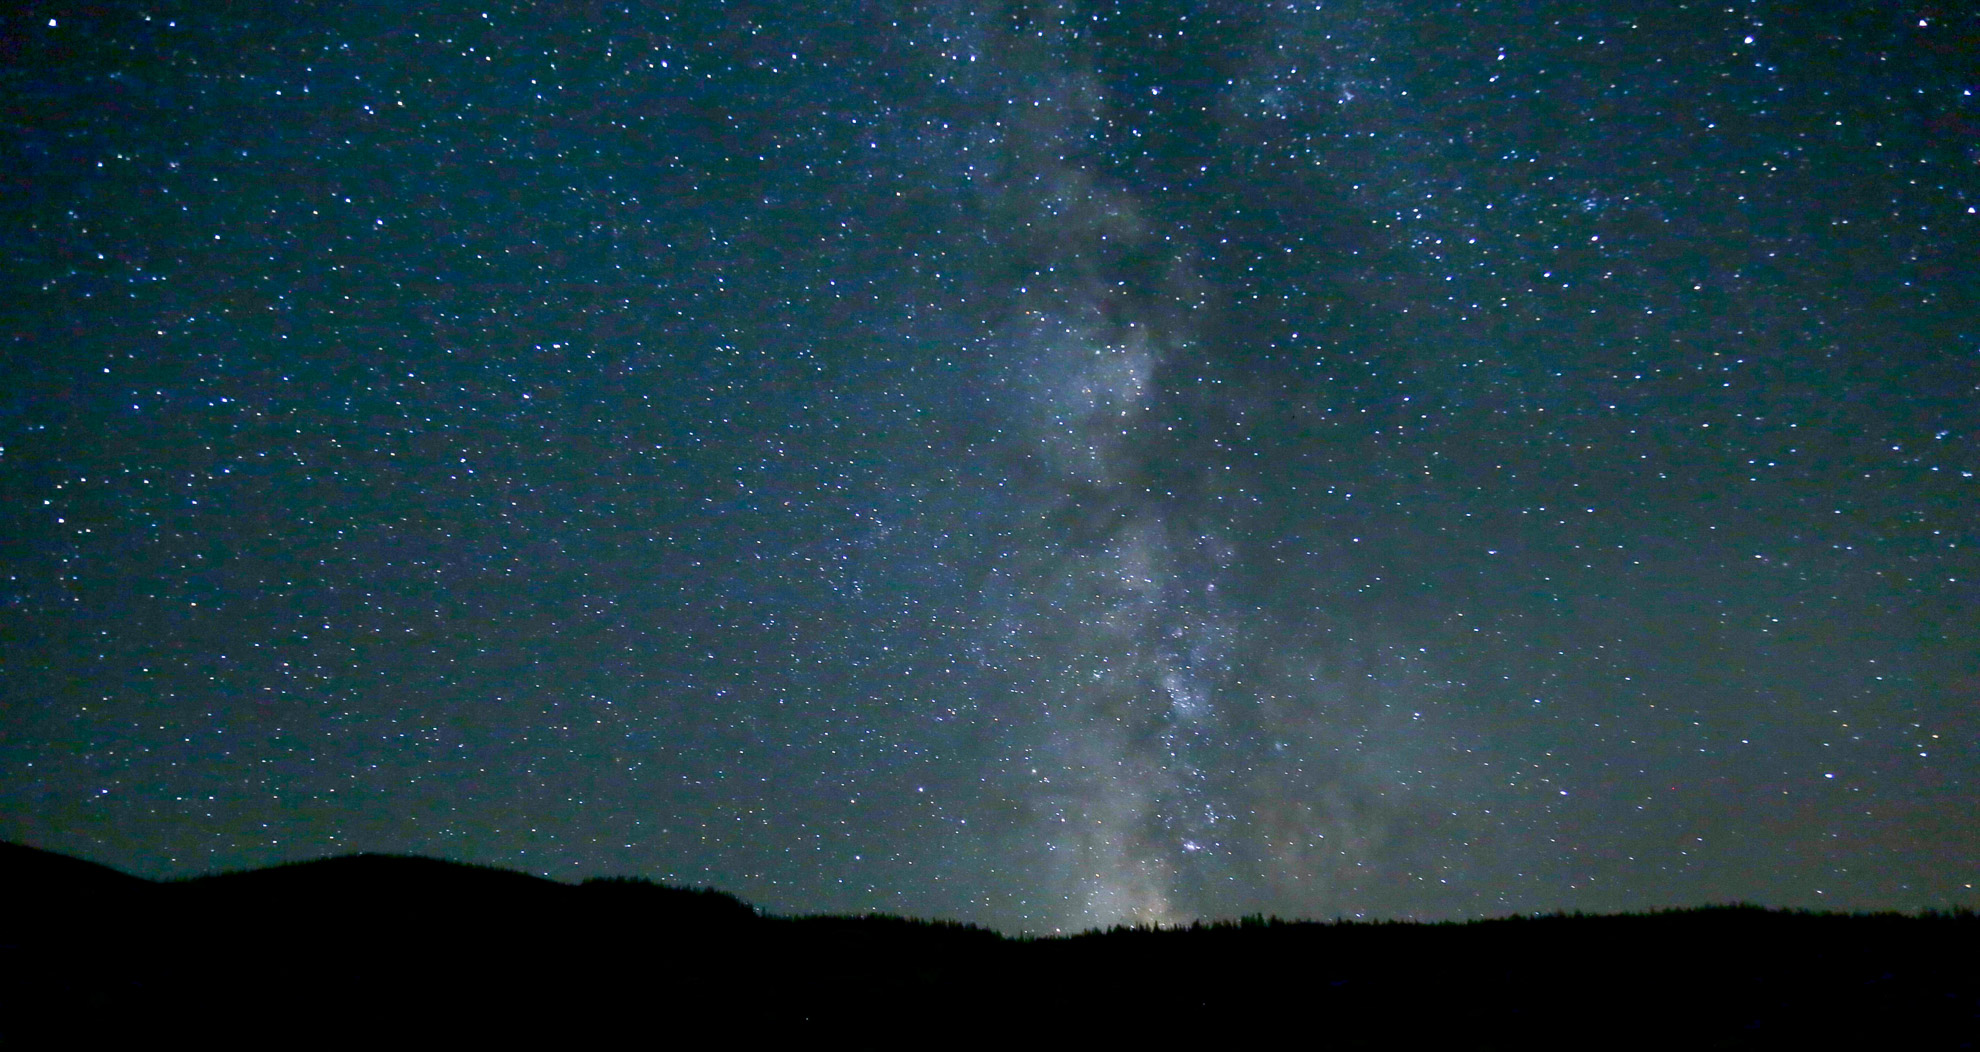
ISO 2000
A Closer Look at the Difference in Image Quality
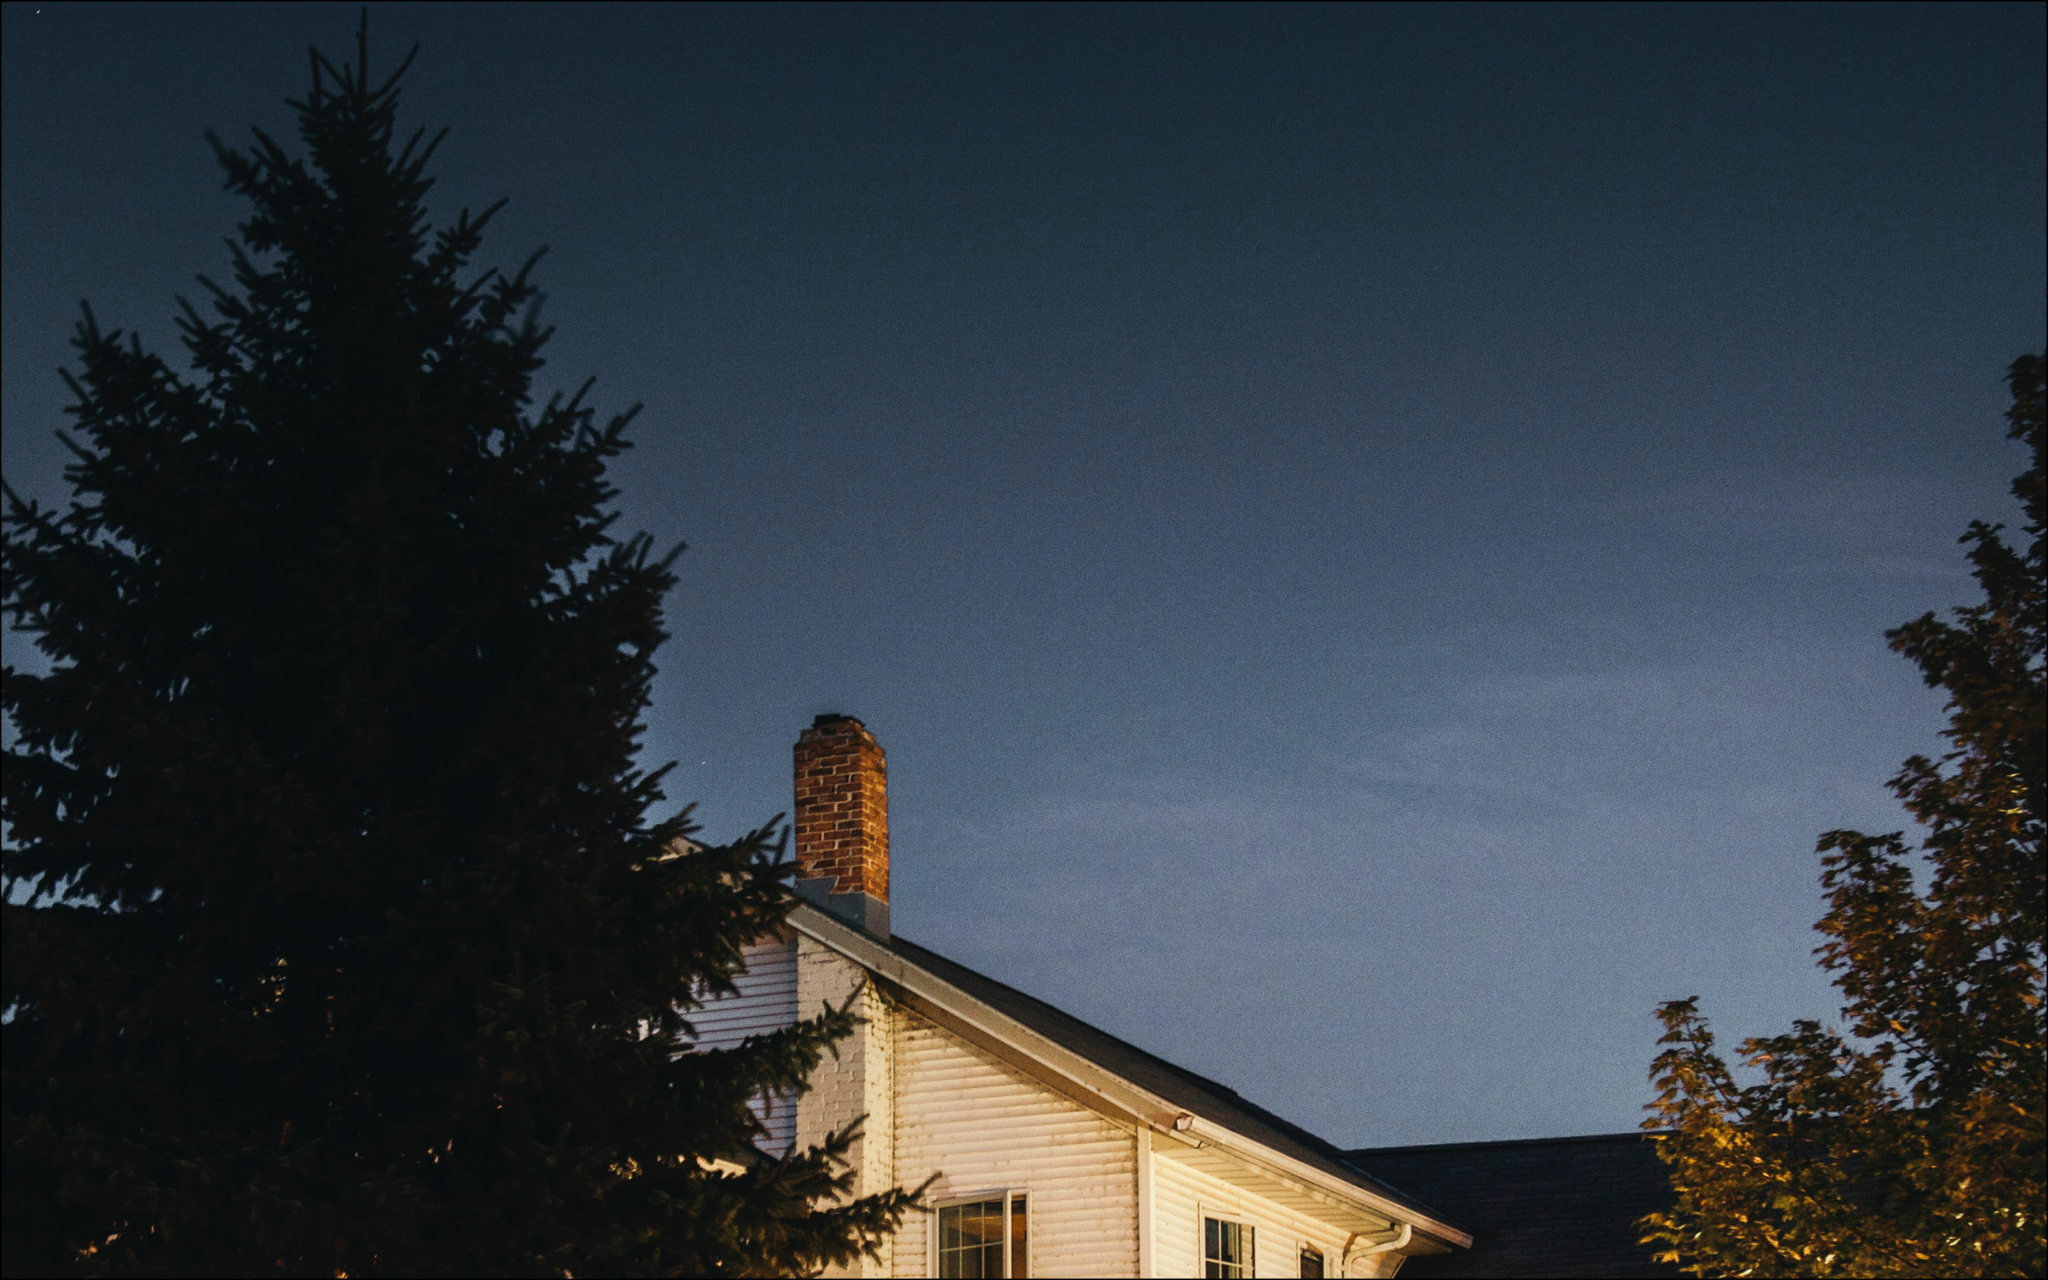
ISO 640
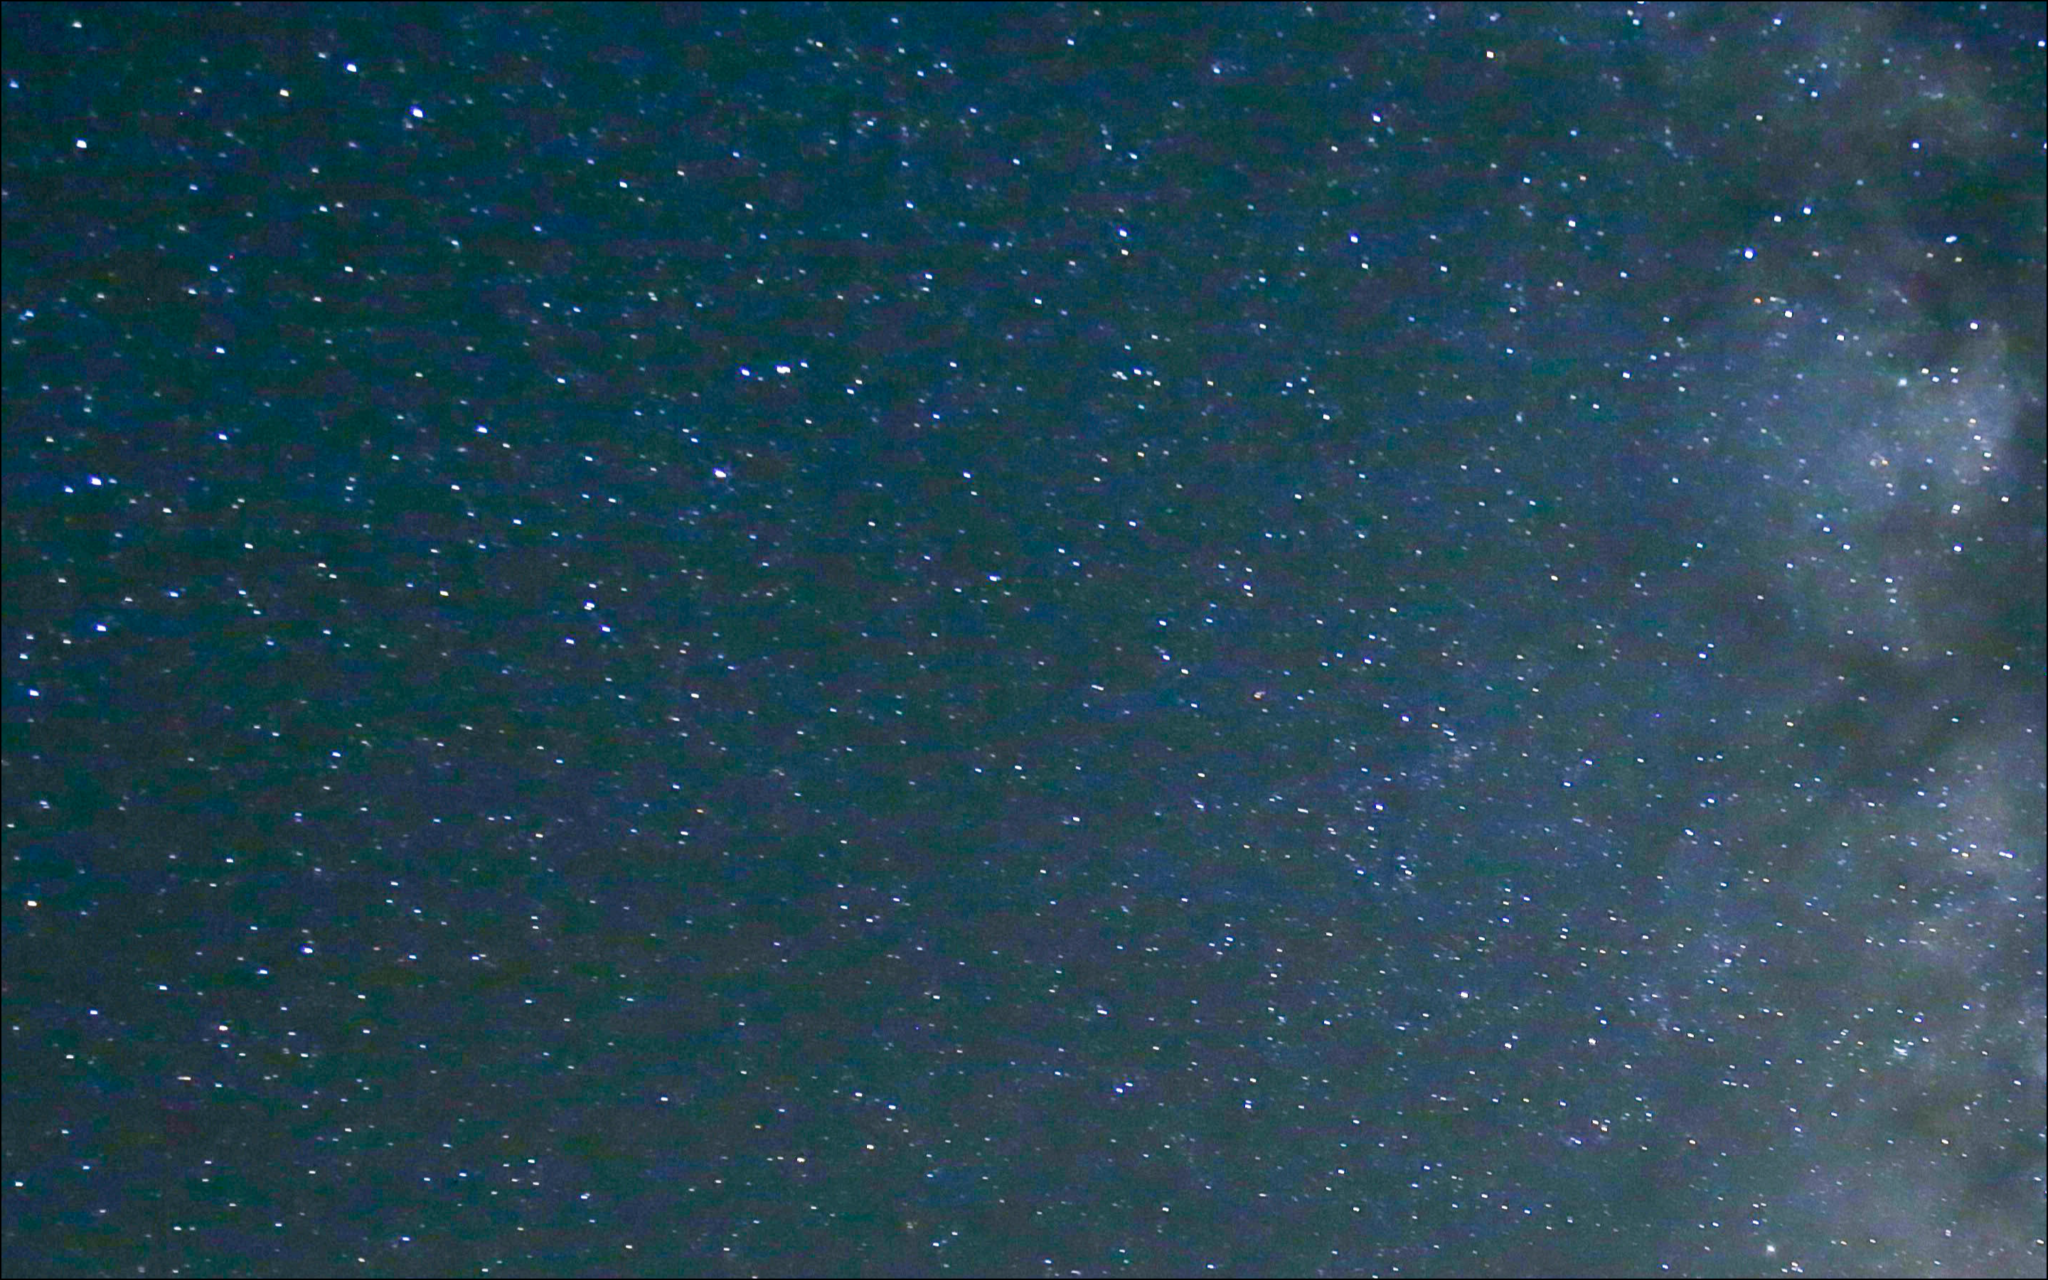
ISO 2000
