The Ultimate Guide to Stargazing in the Northwoods
Internationally Recognized Dark Sky Parks
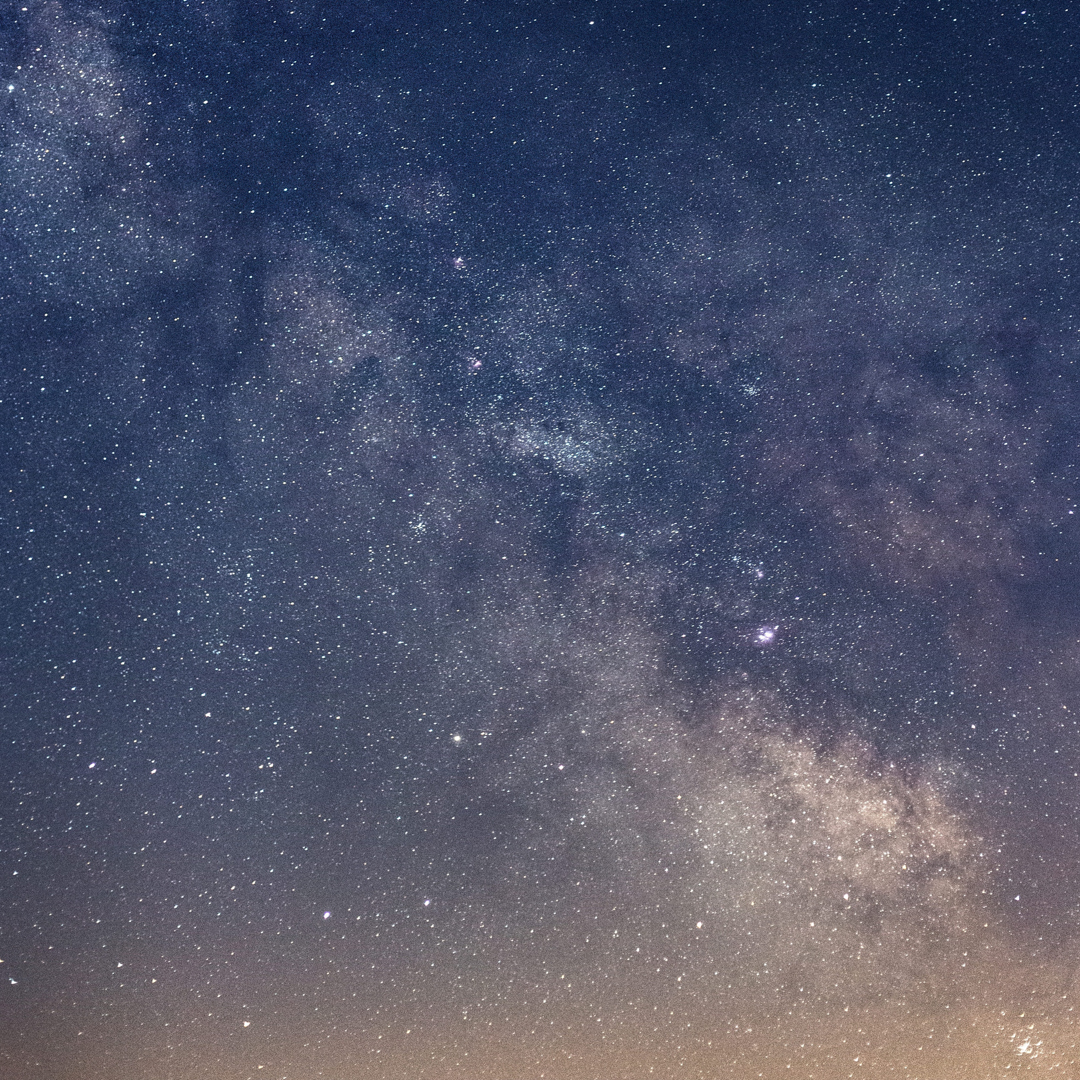
As of right now, there are two internationally-recognized dark sky places in the upper Midwest; perfect for stargazing! Their status has been awarded by the International Dark Sky Association (IDA) whose goal is to recognize and promote excellent stewardship of the night sky. In a nutshell, these places are extremely dark and the IDA protects them and keeps them dark forever. There’s an application process in order to be given “dark sky status” so it’s a big deal when it’s awarded!
1. newport state park | door County, wisconsin
In 2017, Newport State Park received the International Dark Sky Park status, meaning it possesses an exceptional or distinguished quality of starry nights. Newport is a 2,373-acre state park located at the tip of the Door County Peninsula.
All campsites at Newport are hike-in, meaning you must carry your supplies in and out of your site. There are a total of 16 backpack campsites to choose from, 13 of which can be reserved. To check out the park map, click here.
Keep in mind, you must have a Wisconsin state park sticker to enter the park.
2. Headlands International Dark Sky Park | Mackinaw City, MIchigan
Situated right at the top of lower Michigan is Headlands International Dark Sky Park; 550-acres of pristine wilderness with over two miles of untouched Lake Michigan shoreline. The Headlands is open to the public 24/7, 365 days out of the year. Camping is not permitted but visitors can stay throughout the night to observe the sky. Admission is free!
Newport State Park
Ellison Bay, Door County
Headlands International Dark Sky Park
Mackinaw City, MI
Apostle Islands, Wisconsin
Apostle Islands, Wisconsin
Chequamegon-Nicolet National Forest, Wisconsin
Chequamegon-Nicolet National Forest, Wisconsin
Timm's Hill, Wisconsin
Timm’s Hill, Wisconsin
Brockway Mountain, Michigan
Brockway Mountain, Michigan
Pictured Rocks National Lakeshore, Michigan
Pictured Rocks National Lakeshore, Michigan
Sleeping Bear Dunes, Michigan
Sleeping Bear Dunes, Michigan
Pine Island State Forest, Minnesota
Pine Island State Forest, Minnesota
The North Shore, Minnesota
The North Shore, Minnesota
Other Places to Stargaze
The best stargazing is on cloudless nights, far from the glow of the city. And the higher the elevation the better.
Apostle Islands, Wisconsin
Chequamegon-Nicolet National Forest, Wisconsin
Timm's Hill, Wisconsin
Brockway Mountain, Michigan
Pictured Rocks National Lakeshore, Michigan
Sleeping Bear Dunes, Michigan
Pine Island State Forest, Minnesota
The North Shore, Minnesota
Popular Constellations
Orion
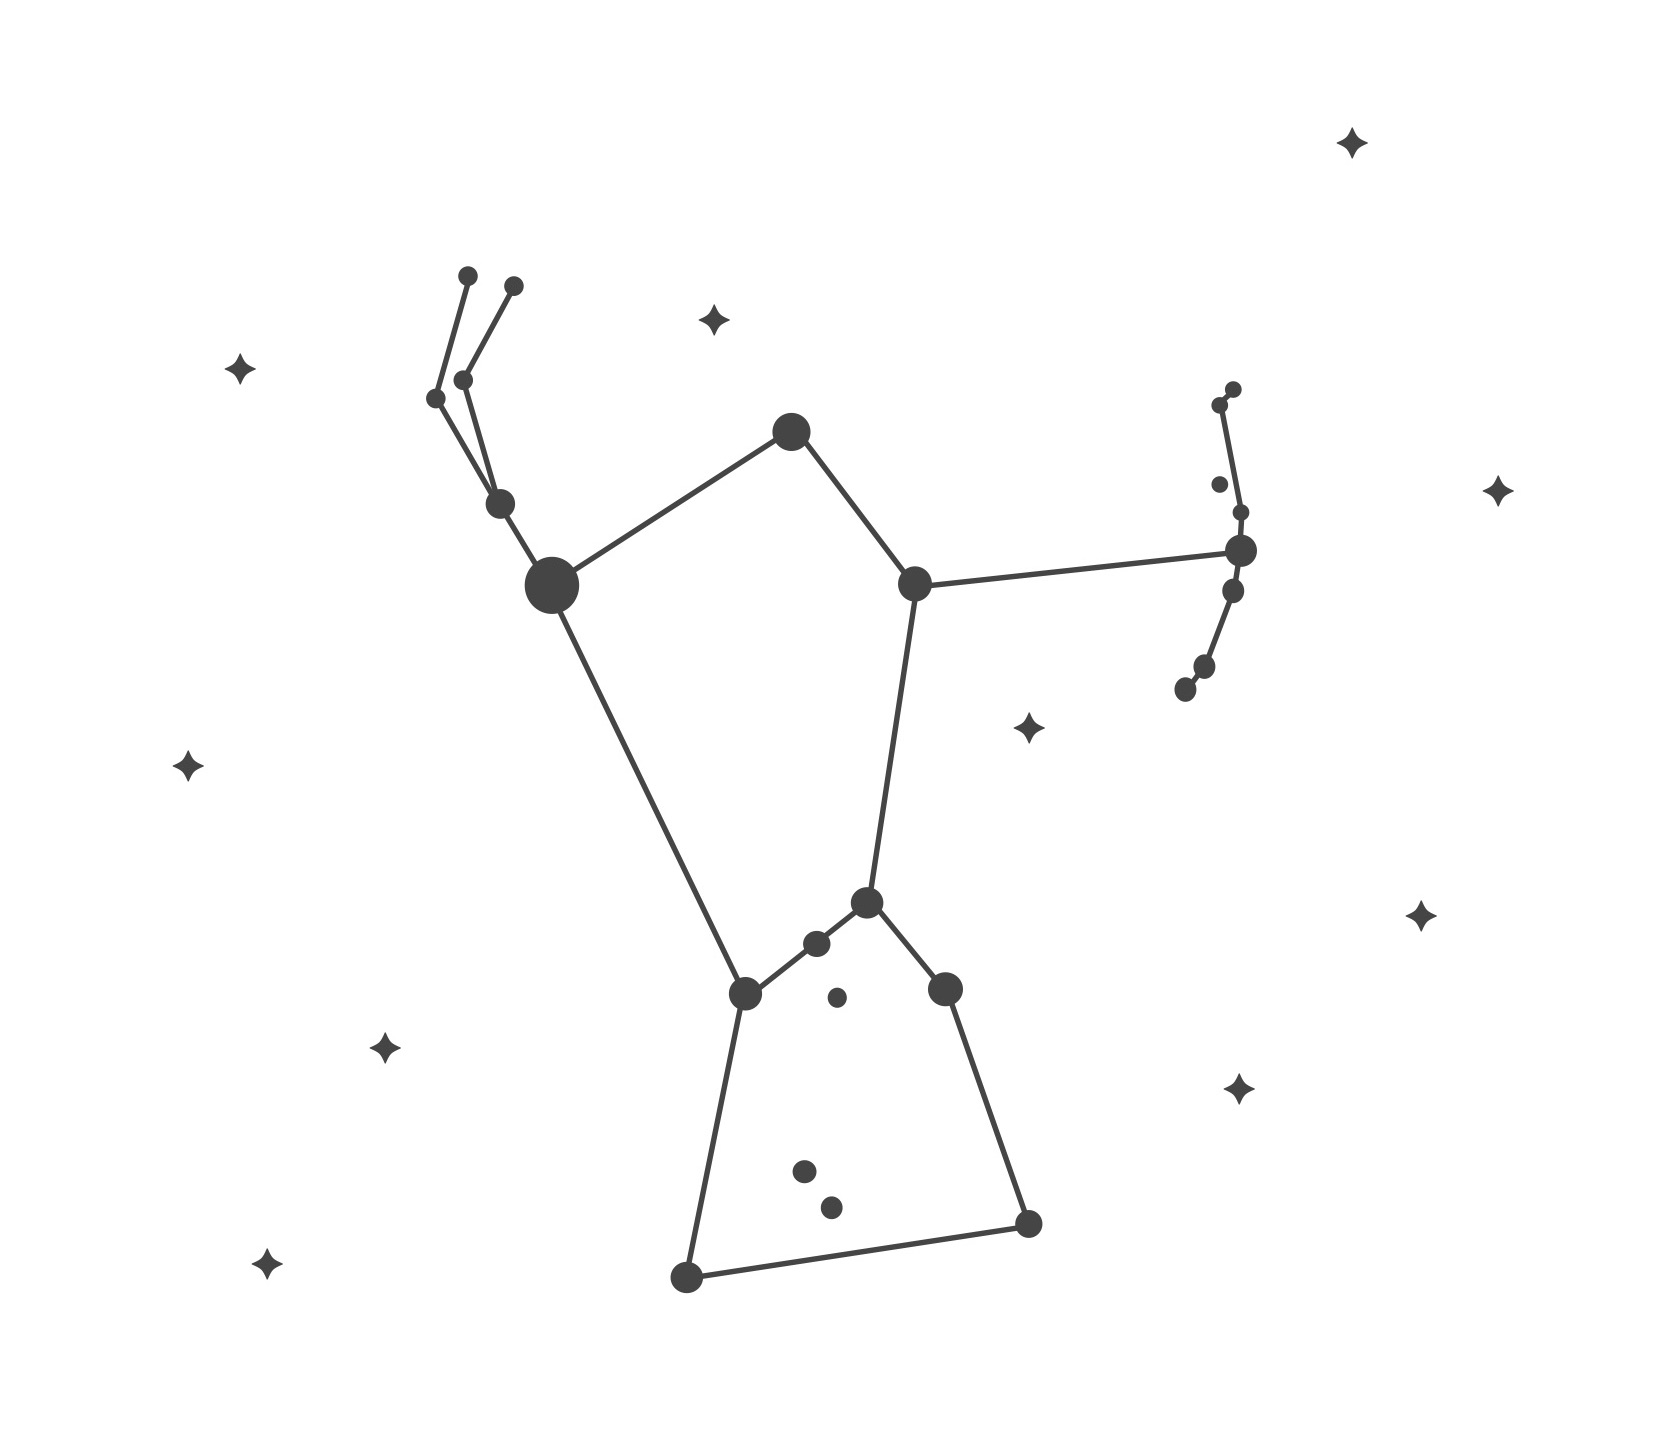
Orion “The Hunter” is clearly visible in the night sky from November to February. In the northern hemisphere, Orion is located in the southwestern sky. The most noticeable part is what’s known as Orion’s Belt; three bright stars in the middle of the constellation in a short, straight row.
Ursa Major
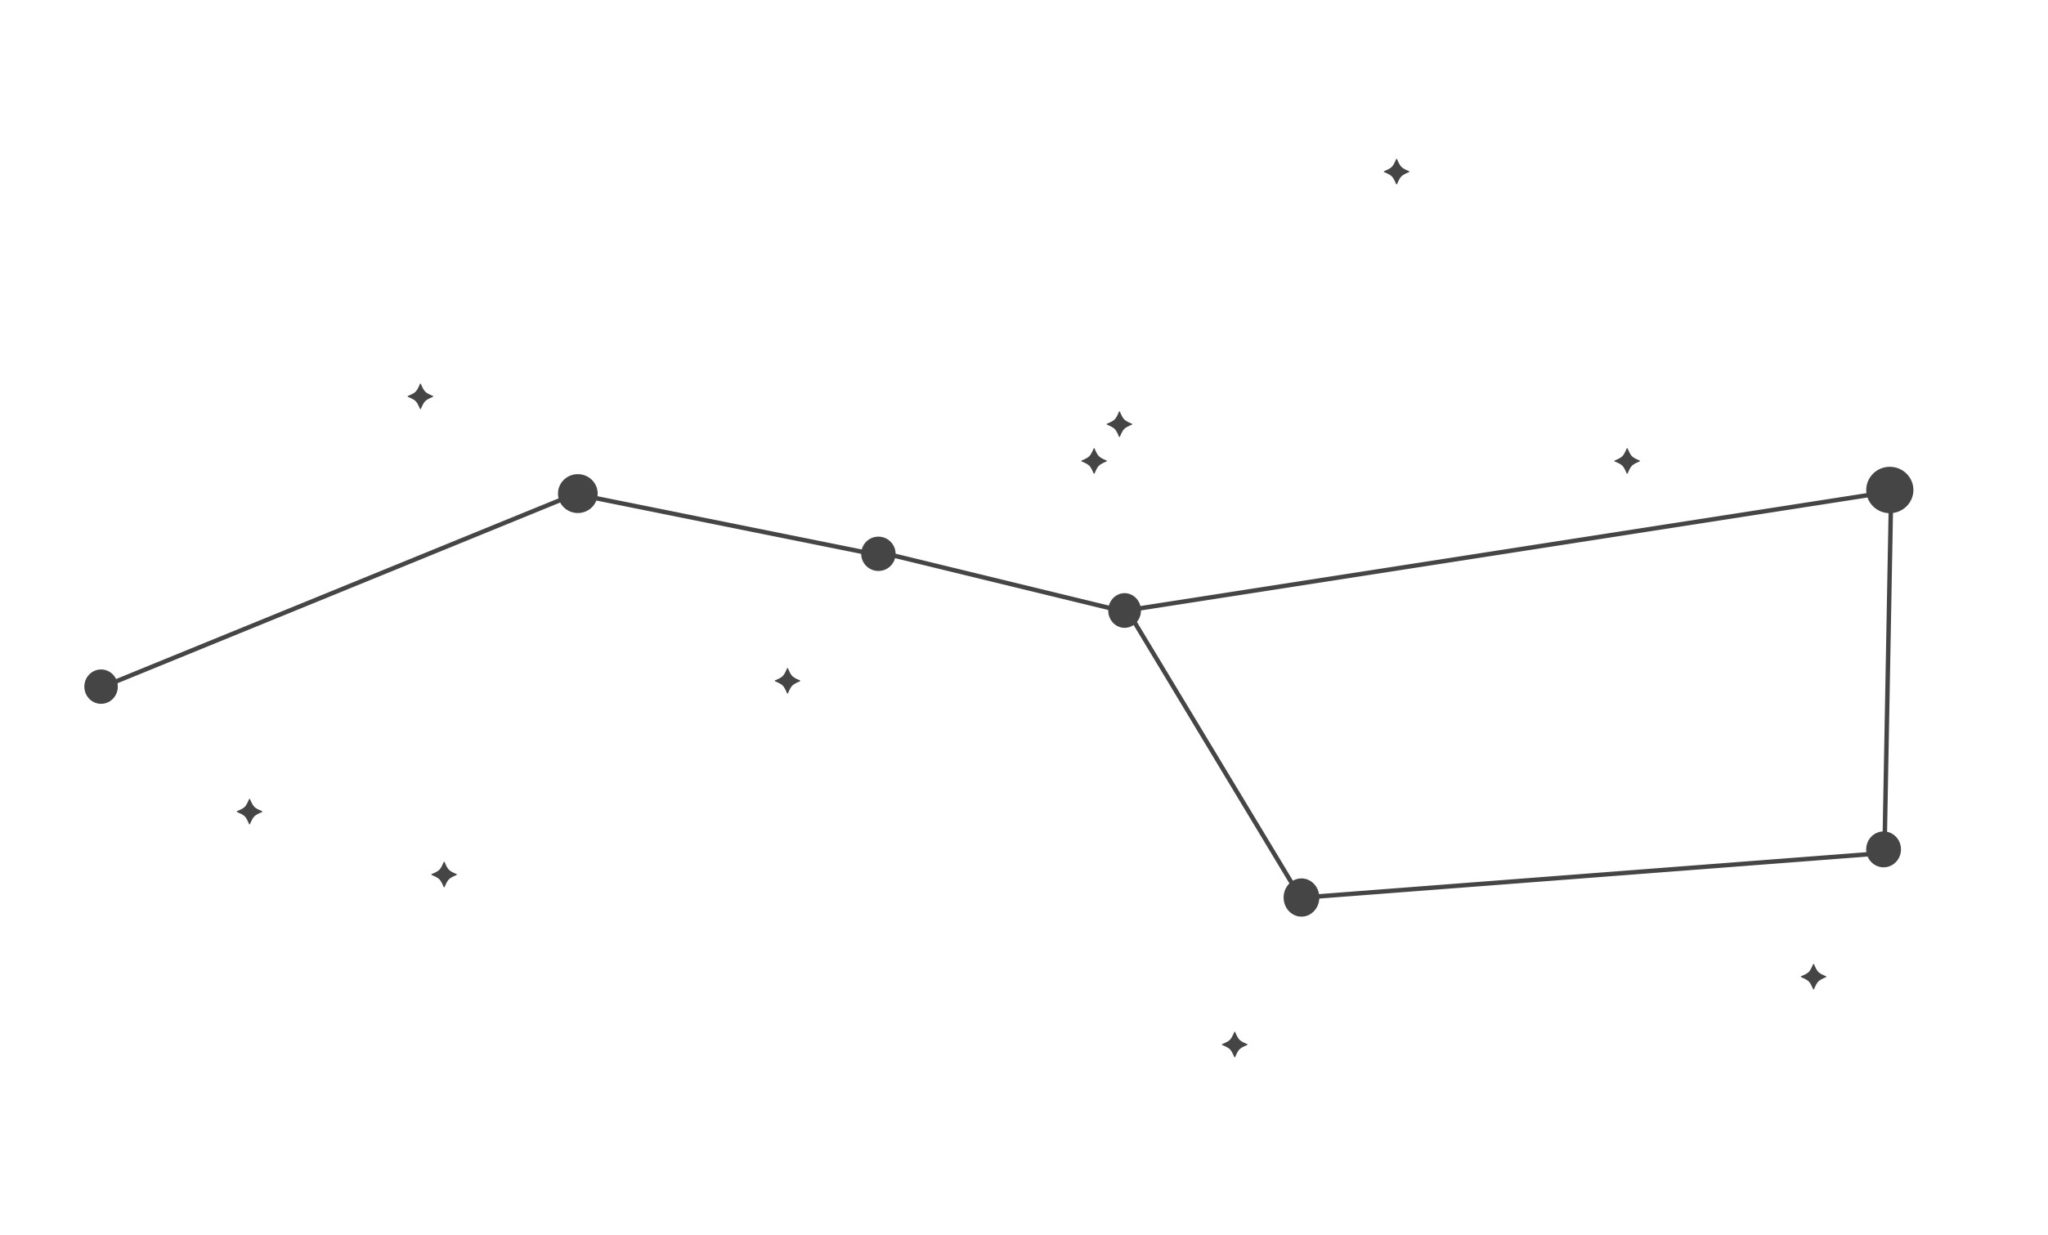
We’ve all heard of the Big Dipper but did you know that the Big Dipper isn’t a constellation? It’s actually an asterism – a prominent group of stars found within a larger constellation; in this case, Ursa Major. Ursa Major “The Great Bear” is found in the northern sky and can be seen year round.

Cassiopeia
This constellation is in the northern sky and can be recognized by its distinct W-shape. It’s named after the vain queen Cassiopeia in Greek mythology who boasted about her unrivaled beauty. Just like Ursa Major, you can see Cassiopeia all year long.

Lyra
Lyra is a small constellation found in the northern sky. It can be seen from April to December but it’s most visible around midnight in the summer months. It’s best known for its star Vega which is the fifth brightest star in the whole sky!

Orion
Orion “The Hunter” is clearly visible in the night sky from November to February. In the northern hemisphere, Orion is located in the southwestern sky. The most noticeable part is what’s known as Orion’s Belt; three bright stars in the middle of the constellation in a short, straight row.

Ursa Major
We’ve all heard of the Big Dipper but did you know that the Big Dipper isn’t a constellation? It’s actually an asterism – a prominent group of stars found within a larger constellation; in this case, Ursa Major. Ursa Major “The Great Bear” is found in the northern sky and can be seen year round.

Cassiopeia
This constellation is in the northern sky and can be recognized by its distinct W-shape. It’s named after the vain queen Cassiopeia in Greek mythology who boasted about her unrivaled beauty. Just like Ursa Major, you can see Cassiopeia all year long.

Lyra
Lyra is a small constellation found in the northern sky. It can be seen from April to December but it’s most visible around midnight in the summer months. It’s best known for its star Vega which is the fifth brightest star in the whole sky!
Stargazing Tips
Star map / night sky app
As you gaze up at the sky, it’s good to know what exactly you’re looking at. That’s where star maps come in handy! You can go old-school and buy a planisphere, or you can download an app right to your phone. I would recommend Sky Map (Android Only), Sky Guide (iOS only) or Star Walk (Android and iOS)
Dark site finder
There’s a cool website called Dark Site Finder. Here you’ll find a color-coordinated, worldwide light pollution map. It shows the brightest and darkest parts of the world so you can determine where to go stargazing. Look for the areas of the map that are dark blue or black – those are the best spots to go.
moon phases
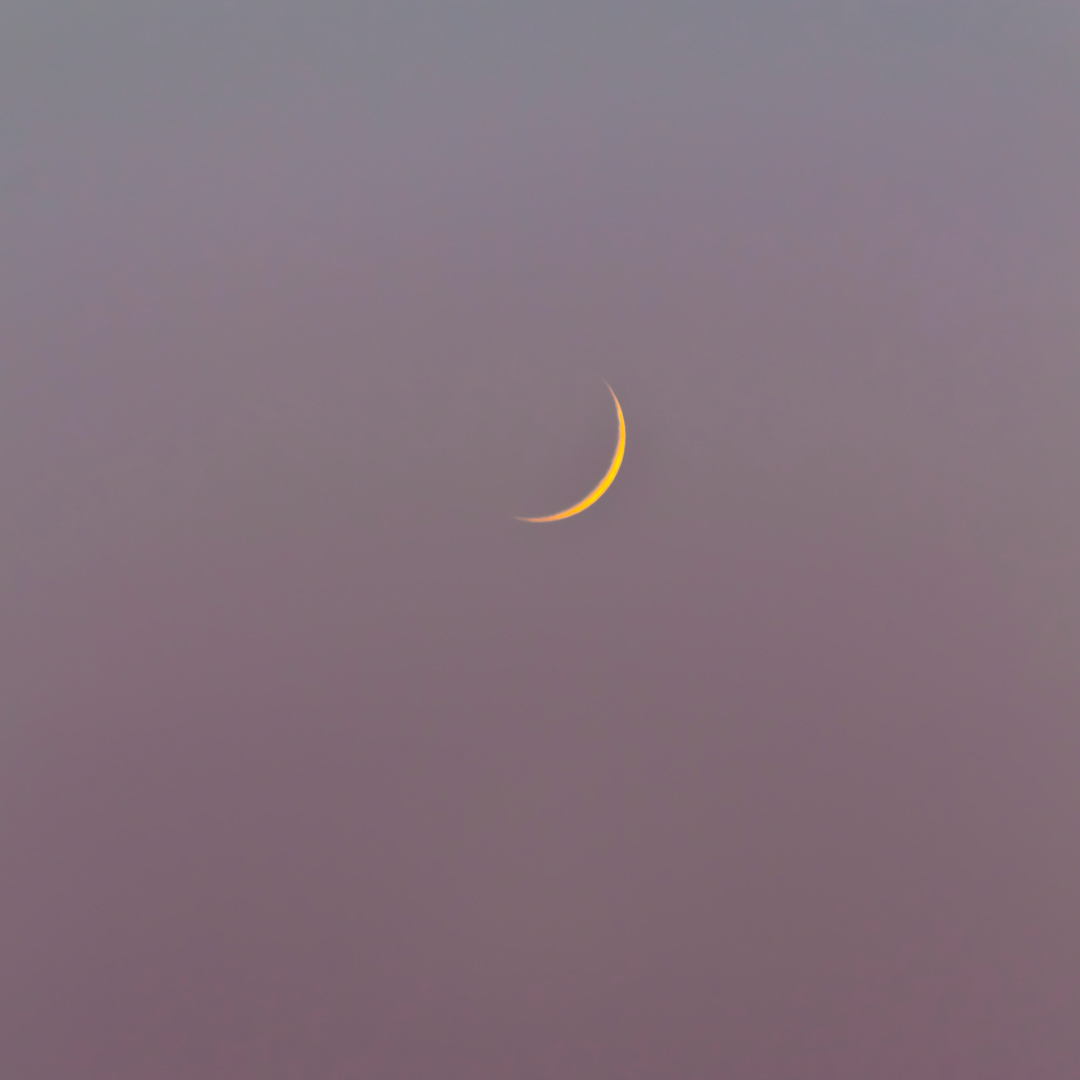
The best time to go stargazing is when the moon is in a crescent or when it’s not present at all – aka, near the “new moon” phase. The new moon is when the sun and moon are aligned, with the sun and Earth on opposite sides of the moon, causing the moon to be completely dark. Without the bright moon casting light in the sky, we’re able to see the stars a bit better. For the moon phase calendar, click here.
What to Bring Stargazing
comfort
If you plan on stargazing for a while, comfort is a must! You’re less likely to enjoy the experience if you’re cold and uncomfortable. I like to bring a big quilt to spread out on the ground. Usually, it gets a bit damp from the dew, so I make sure to bring an old one that I don’t mind getting dirty. You could also lay a small tarp on the ground first and then the blanket over that! I also bring a few other blankets to cozy up in and a pillow if I’m really
Hot chocolate + Snacks
Grab a thermos or two before you leave and fill it with a hot drink like coffee, hot chocolate, or tea. Not only will it help you stay awake, but it will also help keep you warm on those chilly nights! I also like to bring snacks to munch on too. I would avoid foods that make your fingers dirty since you’ll probably be touching your camera gear, phone, telescope, etc. Opt for no-mess snacks like dried fruit, granola bars, fruit snacks, or cereal.
Headlamp or flashlight
Cell phone flashlights are pretty decent nowadays but it’s always nice to have a backup just in case your phone dies. Headlamps are nice since they free up your hands but a good flashlight works too! These Husky flashlights are the ones we personally use for camping and stargazing. They’re really heavy duty and they’re super bright!
Binoculars or Telescope
If you’re just doing some casual stargazing, binoculars will be enough. No need to splurge on a really expensive pair either! These compact ones will work just fine! If you’re looking to get a little more serious about stargazing, check out this affordable, best-selling telescope!
camera GEAR
I love photographing the night sky and trying to capture shooting stars! When I go stargazing, I always bring my Canon camera, my tripod, and my external remote. Keep reading for how to take star photos!
How to Photograph Stars
1. USE A TRIPOD AND EXTERNAL REMOTE
Besides your camera, the most vital equipment for night photography is a tripod. Without one, your photos will turn out blurry! I would recommend this Mactrem tripod for any level photographer. It’s super lightweight (only 2.8 lbs) making it perfect for travel, yet it can support up to 33 lbs so it’s great for any size camera! Even if you don’t own a DSLR and you’re taking photos with your phone, it even comes with a phone adapter!
In addition to the tripod, I also bring along my external shutter release remote. While this isn’t necessary, using an external remote reduces camera shake that occurs when you press the shutter button directly on the camera. I’ve used this Pixel one for the last few years and I really like it! Tip: before purchasing an external remote, make sure it works with your specific camera model.
2. Manual mode
Now that you’ve got your camera on a tripod, next you’ll want to switch your camera over to manual mode (M). In manual mode, you have full control over your camera settings.
2. WIDE APERTURE
When shooting at night, you’ll want the aperture as wide open as possible. I’m normally shooting with my 24-105mm lens so I’ll set my f-stop at f4.
3. SLOW SHUTTER SPEED
Next, you’ll want to slow down your shutter speed. A shutter speed of around 20 seconds is a good starting point.
4. HIGH ISO (IF NECESSARY)
The last step is to adjust your ISO. If your photo still looks underexposed after setting your aperture and shutter speed, go ahead and increase your ISO. Just remember, really high ISOs can add grain or “noise” to your photo.
5. LIVE VIEW + MANUAL FOCUS
When I’m photographing the night sky, I always have my camera in live view mode. This means I can see a live feed of the scene I’m shooting on the back LCD screen. From here, I zoom in on the brightest star I can find and switch my camera over to manual focus. The button to switch over to manual focus is typically found on the lens itself, not the camera body. Then, I manually move the lens ring to focus on that really bright star and snap the picture!
6. WIDE ANGLE LENS
The best type of lens for star photography is a wide angle lens which allows you to capture more of a scene. Below are a few top-rated wide angle lenses for both Canon and Nikon (most expensive to least expensive).

0 Comments